Create a collection
Collections allow merchandisers to create custom pages that group related products based on shared attributes, keywords, or trends.
By defining collections around high-traffic search terms or common browsing patterns, teams can surface relevant products from multiple categories within a single page. This approach improves product discovery, supports consistent navigation structures, and ensures that content remains aligned with user intent.
Create a collection via APIYou also have the option to create a collection via Constructor's API.
Step 1: Enter collection details

- Select Workspace in the side menu of the Constructor dashboard, then select Collections.
- Select + Add new collection in the top-right corner of the page.
- On the following page, enter the collection Name. The ID will automatically populate.
- Enable the Start Date and/or End Date toggles to schedule the collection. You can select specific date(s) and time(s).
- Dates are optional. You can have a start date without an end date, or define an end date for a collection that is going live immediately.
- You can add dates later, if desired. Learn how in our Schedule a collection article.
- Select Create.
Step 2: Add collection metadata
Collection metadata is included in API responses. This metadata helps search engines better understand the topic of a page, improving its chances of ranking higher—especially in areas where visibility is a priority.
Metadata for collections should be structured in JSON format. Below are some best practices for writing metadata:
- Title tag should be under 60 characters and include primary keywords (e.g., men’s wedding guest outfits).
- Descriptions should be 155-160 words max.
- Each collection description should be unique.
- All metadata—from title to description—should read like summary, not a list of keywords.
- Select Edit metadata at the top of the page.
- In the pop-up provided, enter metadata in the field provided. You can write it in the field or paste it.
- Select Save in the bottom-right corner of the pop-up.
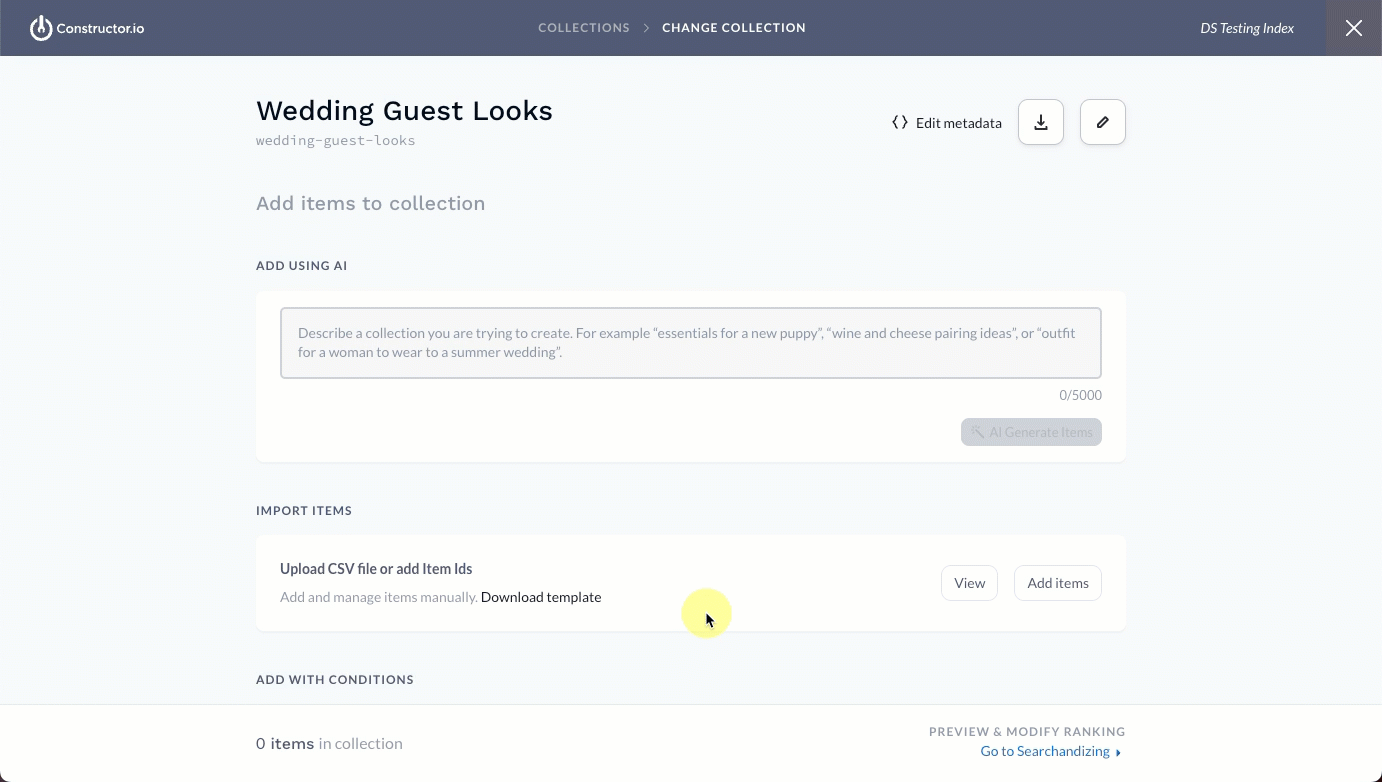
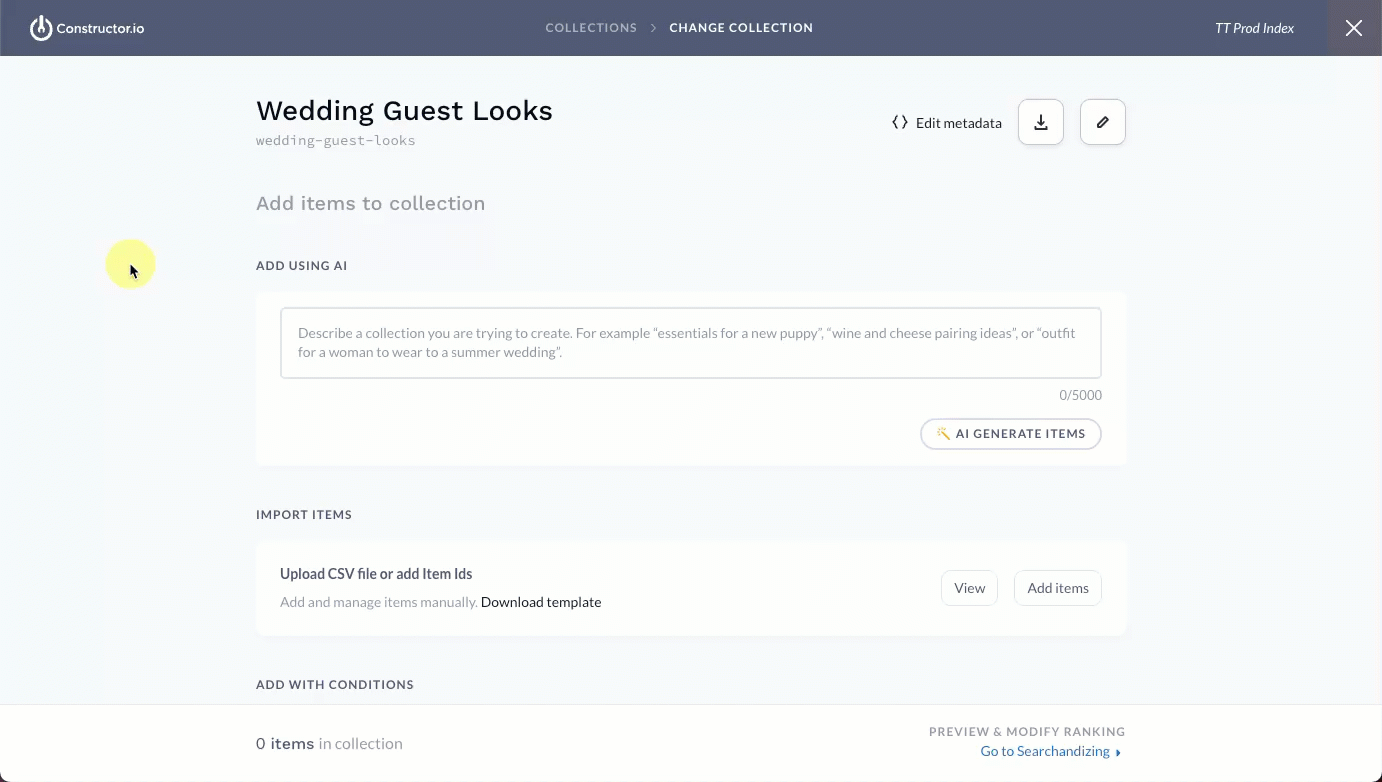
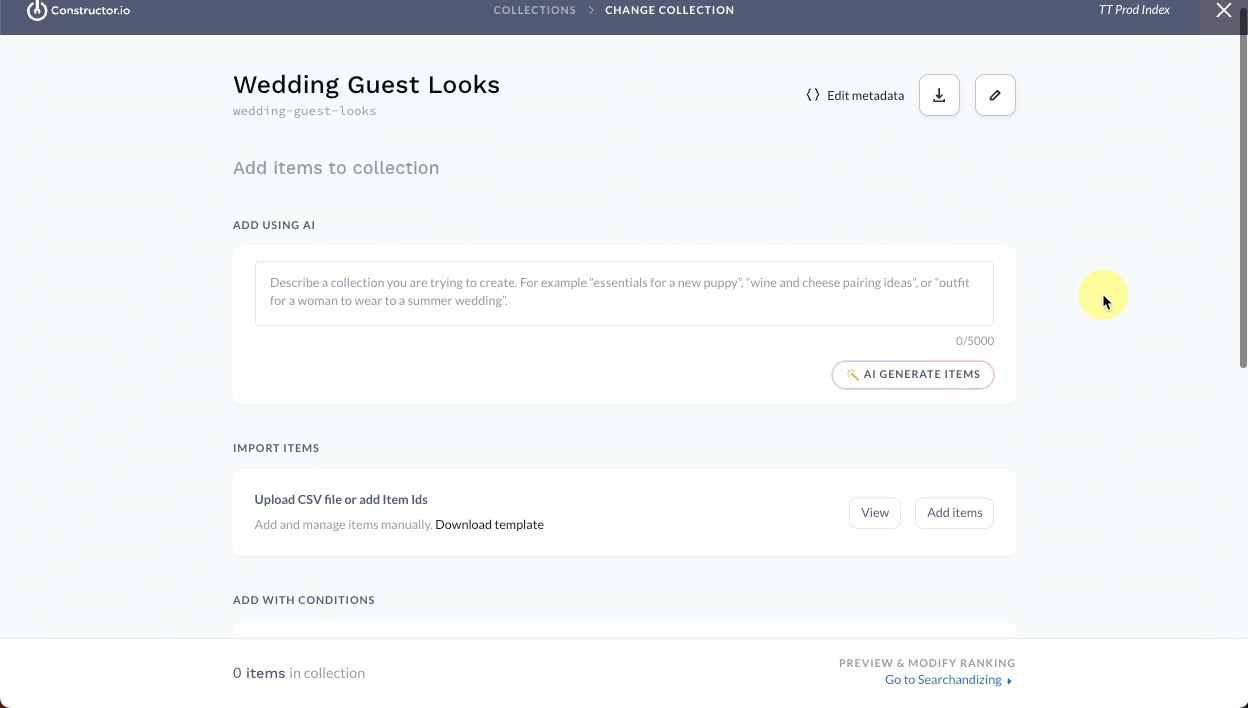
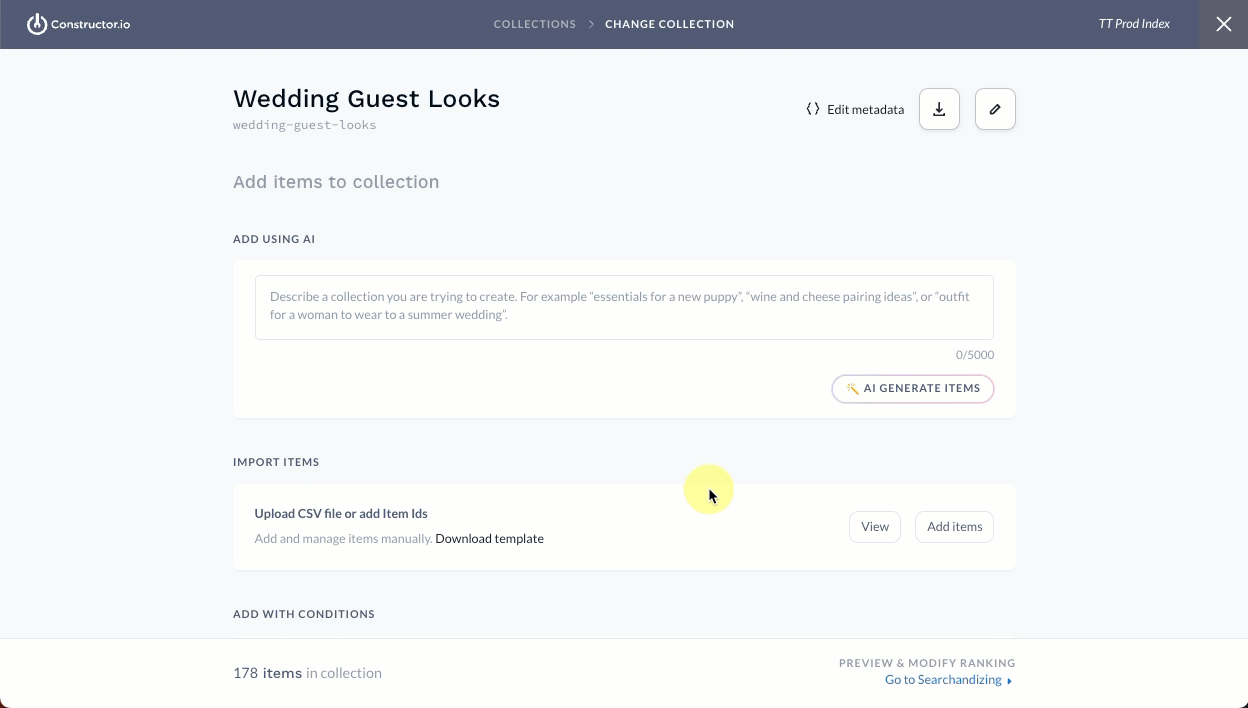
Step 3: Add items
You can choose one of the methods listed below to add items, or a combination of methods.
Add using AI
To create an AI-generated collection, you must first implement AI collections. Please contact your Customer Success Manager for more information.
You can create a collection using an AI prompt. Here you can enter context for a collection (i.e., “Collection of outfits men can wear to a summer wedding. Items should be formal or semi-formal, not casual”), a list of ideas for items to be included in the collection (i.e., “Collection of holiday gift items like personal electronics, electronics for travel, or electronics under $50"), and more.
You can enter more than one prompt, allowing you to generate multiple lists of items. All items will be included in the collection unless they are removed by your team.

- Enter a description of the collection you wish to create in the Add Using AI field.
- Select AI Generate Items below the field.
Review items
Constructor will generate a list of items that fit your prompt, and display them in a pop-up window. Here you can review items that will be included in the collection.
- To remove an item from the list, select the trashcan icon on the far right of the item row. You can select Undo to undo the action.
- To regenerate the list of items, select Regenerate in the top right corner of the pop-up.
- To save the items, select Save in the bottom-right corner of the pop-up.
- To discard all items, select Discard in the bottom-right corner of the pop-up.
Manage prompt
You can review your prompt in the Descriptions section. You will also see a number indicating the number of items selected for the prompt.
- To view and/or edit the items, select the pencil icon.
- To regenerate items for the prompt (for example, if you have added new items recently and want them to be included), select the three-dot icon, then the refresh icon.
- To delete the prompt (and remove the selected items from the collection), select the three-dot icon, then the trashcan icon.
Import items
You can add up to 10,000 items to a collection via an uploaded CSV file. Constructor provides a template for this file.
Add future items to a collectionWith the Import Items option, you can add items to a collection that will sync to your Constructor catalog at a future date. Learn more here.
- In the Import Items section, select Download template to download a CSV template to your device.
- Select Add items to launch the file finder for your device. Locate and select the CSV file you wish to import.
Review items
Once uploaded, items will appear in a pop-up window for you to review.
- To remove an item from the list, select the trashcan icon on the far right of the item row. You can select Undo to undo the action.
- To upload a new or updated CSV file, select Upload new CSV at the top of the pop-up. This will replace the existing list of items, not add to it.
- To quickly edit the list of items, select Edit item IDs.
- This transforms the list into an editable field. Here you to manually enter item IDs, paste a copied list of item IDs, or delete item IDs.
- Use your browser’s built-in search function to locate specific items in the list. For Mac users, use ⌘ + F. For Windows users, use CTRL + F.
- When done, select Review in the bottom-right corner of the pop-up.
- To save the list of imported item IDs, select Save in the bottom-right corner of the pop-up.
- To discard the list of imported item IDs, select Discard in the bottom-right corner of the pop-up.
Manage imported file
You can manage the list of imported item IDs in the Import Items section.
- To view and/or edit the list of imported item IDs, select View.
- To add more item IDs to the collection, select Add items. This will take you through the import flow outlined at the top of this section.
Add with conditions
You can create a dynamic collection using conditional logic. Once defined, any future item added to the catalog that meets the specified criteria will be automatically added to the collection.
- In the Add with conditions section, define your first attribute by selecting it from the corresponding drop-down.
- Next, select the condition (e.g., is or is not).
- Finally, select the desired option from the corresponding drop-down.
- Repeat these steps as needed. Learn more in the Define conditions section below.
- To view items identified by the conditions, select View at the top of the section.
- Select Save at the top of the section to save your conditions.
Define conditions
If desired, you can add additional conditions or nested conditions (i.e., a refinement or elaboration of an attribute you defined).
- To add a new condition, select the + to the far left of the conditions.
- Choose AND to narrow the results. This option means that items must meet both of the conditions to be included.
- Choose OR to broaden the results. This option means items can meet either of the conditions to be included. This option is typically used in conjunction with new conditions.
- To add a nested condition to an existing condition, select the + beneath the existing condition.
- Choose AND to narrow the results. This option means that items must meet both of the conditions to be included. This option is typically used in conjunction with nested conditions.
- Choose OR to broaden the results. This option means items can meet either of the conditions to be included.
Manage conditions
You can manage conditions in the Add with conditions section.
- To edit an existing condition, select any of the attribute, condition, or option drop-downs and choose new selections.
- To delete an existing condition, select the trashcan icon on the far right of the condition row.
Step 4: Create searchandising rules
Once you have added items, you can proceed with applying merchandising rules to the collection. This is optional and can always be done later by revisiting the Collections page.
⚠️ Please note: For recently created or updated collections, it can take up to 30 minutes for items to display on the Searchandising page. This depends on the number of items being added to the collection. It does not impact your ability to create rules; you will simply be unable to view the affected results. You can always come back to view these results or to create the rules.
- Select Go to Searchandising in the bottom-right corner of the Add items to collection page.
- Select Add rules & content on the left side of the page.
- From here, you can create rules following the same steps outlined in our Searchandising documentation.
- This includes boost, bury, slotting (by item and attribute), blocklist, allowlist, and more.
- You can add user segments and effective time frames to all rules.
- When done, select Save rules in the top-right corner of the page.
Include collections in campaignsApply a single set of merchandising rules to collections and related search queries, category pages, and facet pages as part of a campaign. Learn more here.
Step 5: Add a collection to your website
Once you have created a collection, you can add it to your website. This can be done by making a call to Constructor’s Collections API. You will need the collection ID, which is generated in Step 1, to retrieve and render the correct collection.