Implement AI Shopping Agent
Implementing AI Shopping Agent (ASA) involves several phases, including uploading an item catalog and content, designing the ASA UX, and integrating with the ASA API.
We walk through these phases below. Please reach out to your Customer Success Manager with additional questions.
Phase 1: Review item data
To ensure that your ASA has as much information as possible during its initial query refinement, you’ll want to review item data and make sure it’s as complete as possible.
This can include having categories listed, browse hierarchy defined, attributes present, and pricing and inventory levels up-to-date. Metadata and facets you wish to be available to the AI Shopping Agent should be marked as visible.
Phase 2: Upload blog, knowledge base articles, and guide content (optional)
Long-form content, such as blog articles, how-to help articles, and guides, can train your agent to understand broader concepts and information related to your catalog. This is also leveraged for results explanations, advanced model training, and conversational refinement.
Example guides and articles might include How to pick the perfect sofa, Your holiday gift guide, and more.
⚠️ Please note: Before uploading content, please contact your CSM so they can create a new section in the correct index.
There are two methods of upload:
- FTPS: You will need to include the section name in the filename.
- HTTP: You will need to ensure you define the section parameter to include the section name.
Please note that, for content files, there is a 20KB size limit per article and 50,000 limit on the number of articles.
Blog, knowledge base articles, and guides data format
Field name | Type | Required | Description |
|---|---|---|---|
| string | ✓ | A unique identifier for the article or guide. Limited to 250 characters. |
| string | ✓ | Article title describing article topic or purpose |
| string | Strongly encouraged | URL where the article lives on your site. |
| string | Strongly encouraged | Short summary of article contents |
| string | Strongly encouraged | Keywords/tags related to article topic, purpose, type, or usage, separated by pipe characters (|) Example: gym|casual|athletic|workout|comfort |
| string | Image URL for article cover | |
| string | ✓ | Text of the article |
| string (ISO 8601 timestamp) | Strongly encouraged | The timestamp when the article was created/published. It uses a precise timestamp format for accuracy, but such accuracy is not required. example: 2022-09-01 03:00:26.369 |
| string | Status of the article (published/draft/archived) Example: Published | |
| json | List of group ids of related product categories (i.e., Example: | |
| json | List of related product ids referenced in the article (i.e., | |
| json | List of IDs of any related articles within your knowledge base | |
| json | List of related searches Example: | |
| Custom metadata indicating data points like user interaction data, urls of attached images, and other article-specific information. There is not a pre-defined list of metadata names; rather, they can be arbitrary according to what is most useful. The maximum length of the names of metadata fields is 1,000 characters. |
CSV upload format for blog, knowledge base articles, and guide data
If you are using CSV upload format, metadata:<...> fields should be uploaded in a single JSON column named metadata with corresponding field names.
Example CSV:
id,item_name,metadata
abc,Title,"{""content_text"":""text"", ""related_groups"": [""1"",""2""]}"
Sample content upload
Here is a sample payload of how the data would be uploaded. (Note, not all information from the table is included in this example payload).
{
  "id": "k864d943-9d66-4h32-d25e",
  "name": "Spring Wreath Buying Guide",
  "created_at": "2025-02-15 012:24:48",
  "url": "https://www.houseandhome.com/inspiration/spring-wreaths",
  "keywords": [
    "outdoor decorations",
    "spring decorations",
    "front door decorations"
  ],
  "description": "Decorate your home with the perfect spring wreaths."
}
Phase 3: Integrate with the ASA API
Constructor’s ASA API will allow the agent to retrieve item suggestions based on a shopper’s question.
Companies that wish for their agent to retain conversational history and context will need to use the thread_id parameter. This parameter will only be generated if the domain has the conversational=true flag turned on.’
It’s important that the thread_id persists in future requests for he agent to have memory of the shopper’s conversation. If no thread_id is provided in subsequent requests, then Constructor will assign a new thread_id, thus creating a new conversation.
Phase 4: Design the AI Shopping Agent experience
Companies are responsible for designing how their AI Shopping Agent appears on their website.
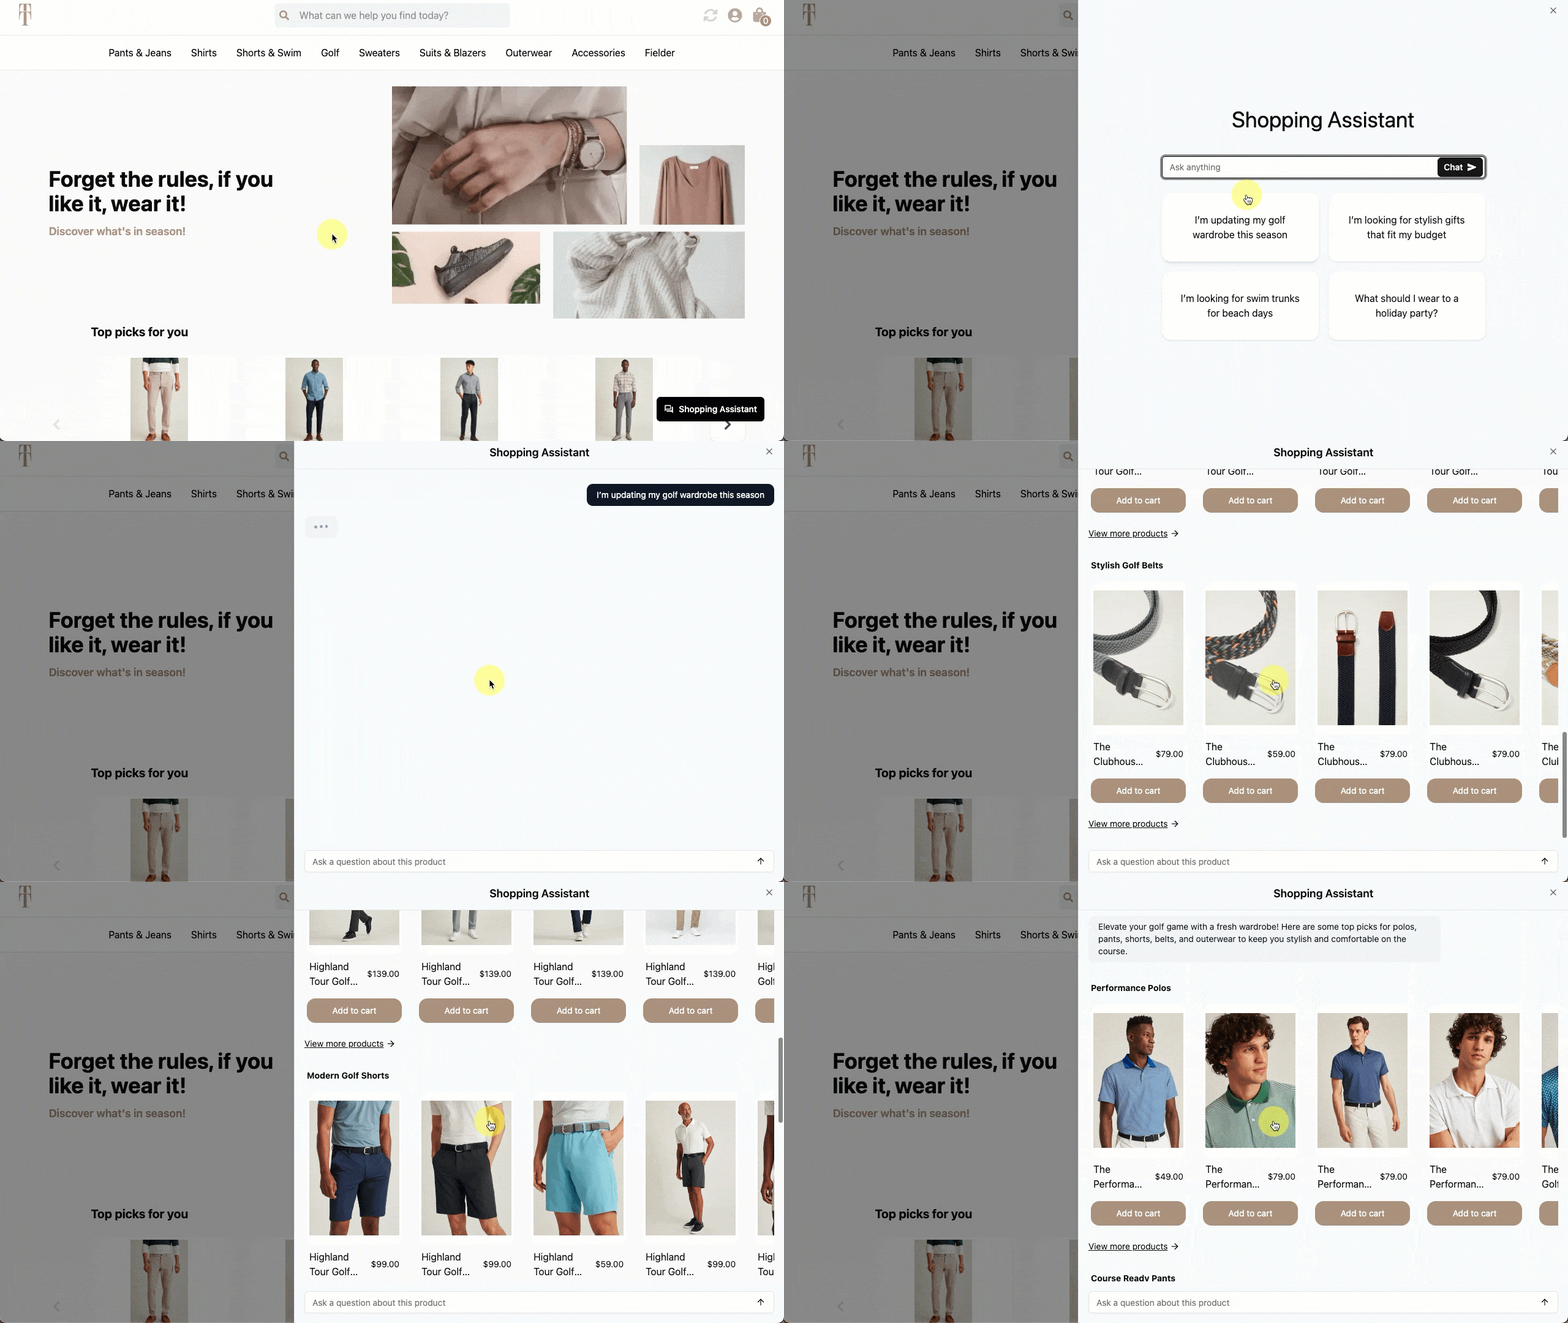
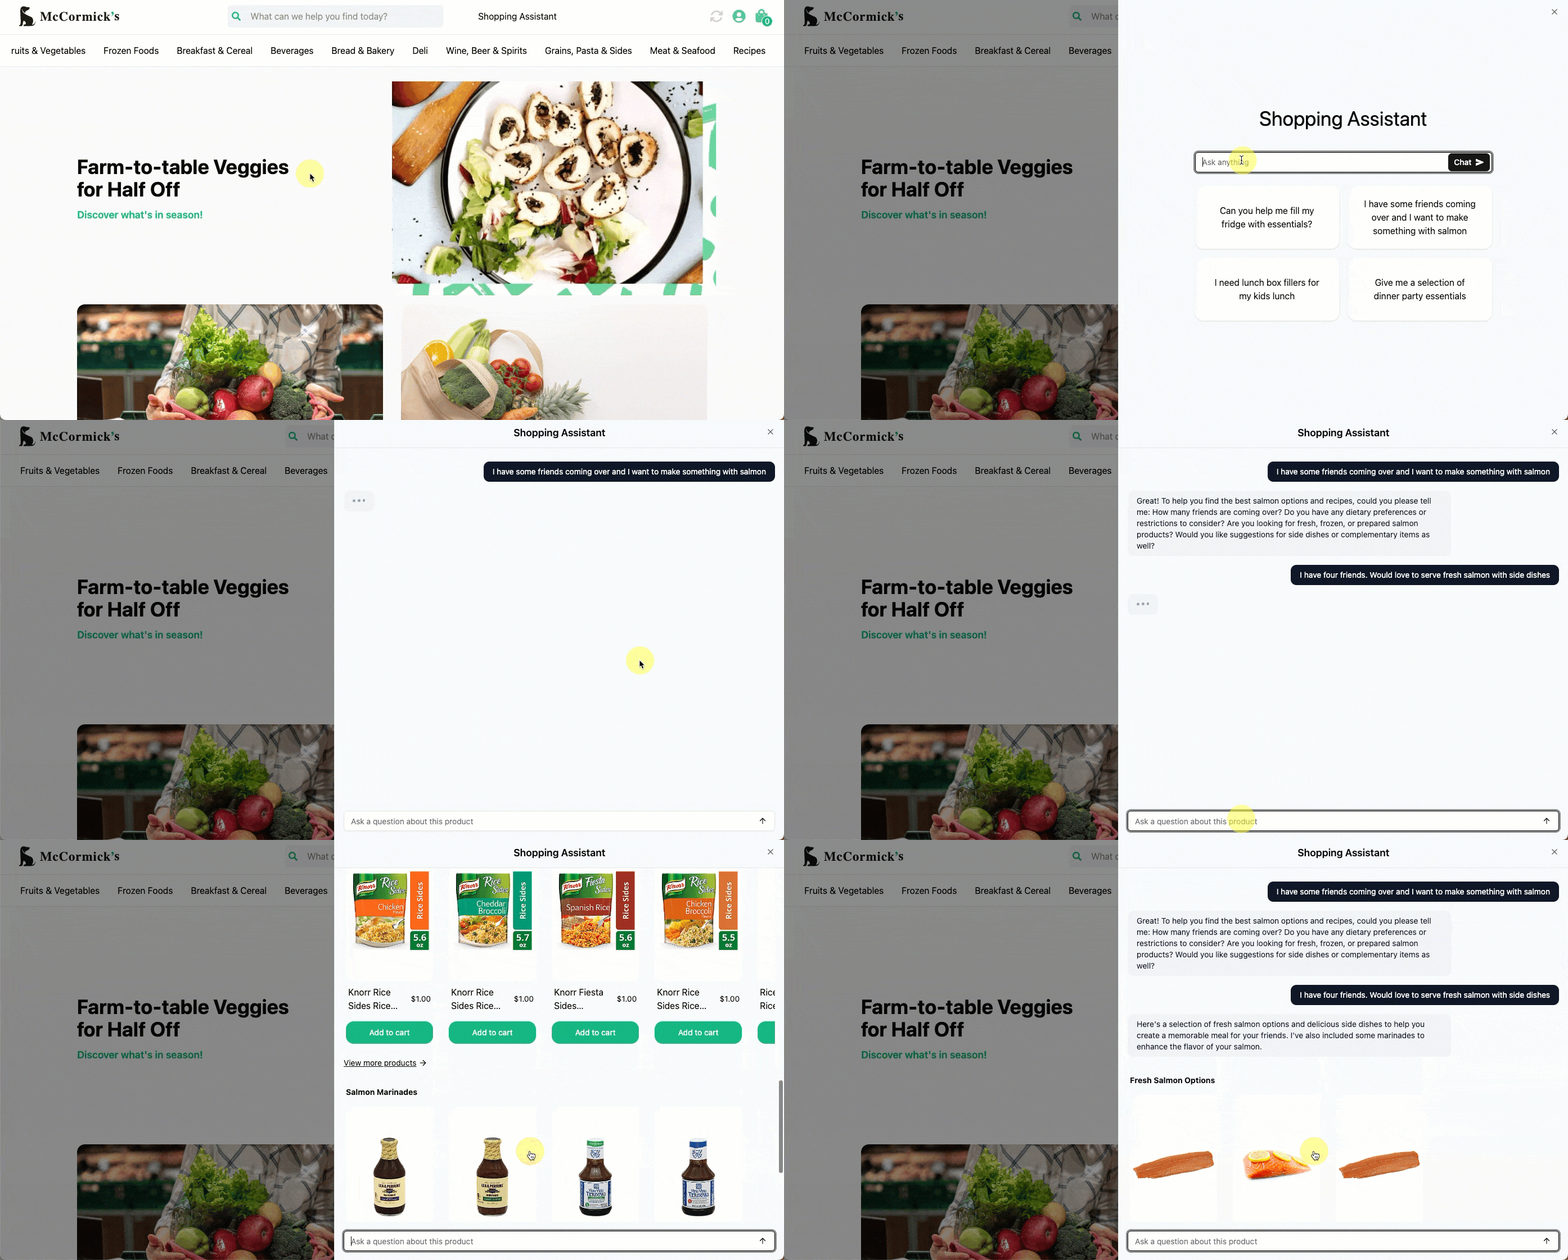
Popular and recommended best practices include implementing it as a chat window that is triggered from an interactive icon located on the page, or from a link in the main navigation bar.
Triggered from a chat icon

Shopper triggers the AI Shopping Assistant by selecting a "Shopping Assistant" button in the bottom-right corner of the homepage.
Triggered from link in navigation menu

Shopper triggers the AI Shopping Assistant by selecting the "Shopping Assistant" link located in the top navigation menu of the homepage.
Updated about 8 hours ago